"Towards Kenbane"

"Towards Kenbane"
Spectacular Irish coastline on a stormy day

Wednesday 18 September 2013

AND NOW FOR SOMETHING A LITTLE DIFFERENT!

A PASTEL SEASCAPE

Even though I haven't shared anything from this painting so far, I decided to post this image to show the pastel SEASCAPE which was completed yesterday:


Using mainly 'Unison' Soft Pastels and a reference photo [taken from my 'seascape library' - hundreds of digital pics taken around the local coastal area], this painting was done on an 8" x 24" canvas board.  

To prepare the board, three layers of white Acrylic Gesso were roughly scrubbed in [NOT sanding between] leaving each to dry completely. You do not have to use white - many people prefer to work on a coloured ground.

The first step is to layer in the darks:  
I chose a selection of three shades [tones] of blue, from dark grey/blue through to a light Cobalt, and the same with the greens.  

Tip:  Leave the lightest areas blank.

Select ALL the colours you intend to use and lay them out separately - this means you will not confuse them from the rest and it makes the painting process much easier.
It is important to select darks and lights of the same colour as opposed to 'lightening' a darker colour with white [which will only make your colours 'opaque' instead of keeping them 'pure/transparent'].  
There are SO MANY colours and shades/tones available in pastel - it's best to build up your collection slowly, as they are needed, otherwise you could spend a fortune!
I have been 'collecting' for years - this photo shows some of my soft pastels and how I lay them out for ease of visual selection:-


Right, getting back to the tutorial...  this type of scene turns out best if you work up the painting as a whole [rather than finish each section in isolation].  I 'blend' with my little fingers, using a REALLY soft touch [remember to clean off your finger as you go]. 

The lights in this painting are various shades of green, blue, violet, yellow, cream and finally, white.  
Once the light colours have been laid down, I 'blend' them into the dark areas [cleaning my finger on kitchen roll in between each touch] using a light touch.  

To achieve the effect of light shining through the top of the curling wave, I first used a light yellowish-green [along a 'mossy' tone] then working in the darker blue and green mix at the base of the wave, working from the bottom up.  Blend the light into the dark then overlay a pale yellow, working from the top down, blending this as well. 

I tend to work 'instinctively' rather than following any kind of formula - if you learn to look at your chosen image and 'see' the colours [without too much analysis], you will ultimately also paint 'instinctively'.
As you lay in lights and darks, adjust the work as you go... this might be simply shifting a line ever so slightly or making the foam 'holes' smaller/larger.  With each adjustment, look carefully at the painting as a whole to ensure your changes 'fit' the overall realism and don't look out of place or unbalanced.

The last marks are made with the lightest colours - these are the 'icing on the cake' and are, as such, NOT blended in.  This way they add the sparkle!

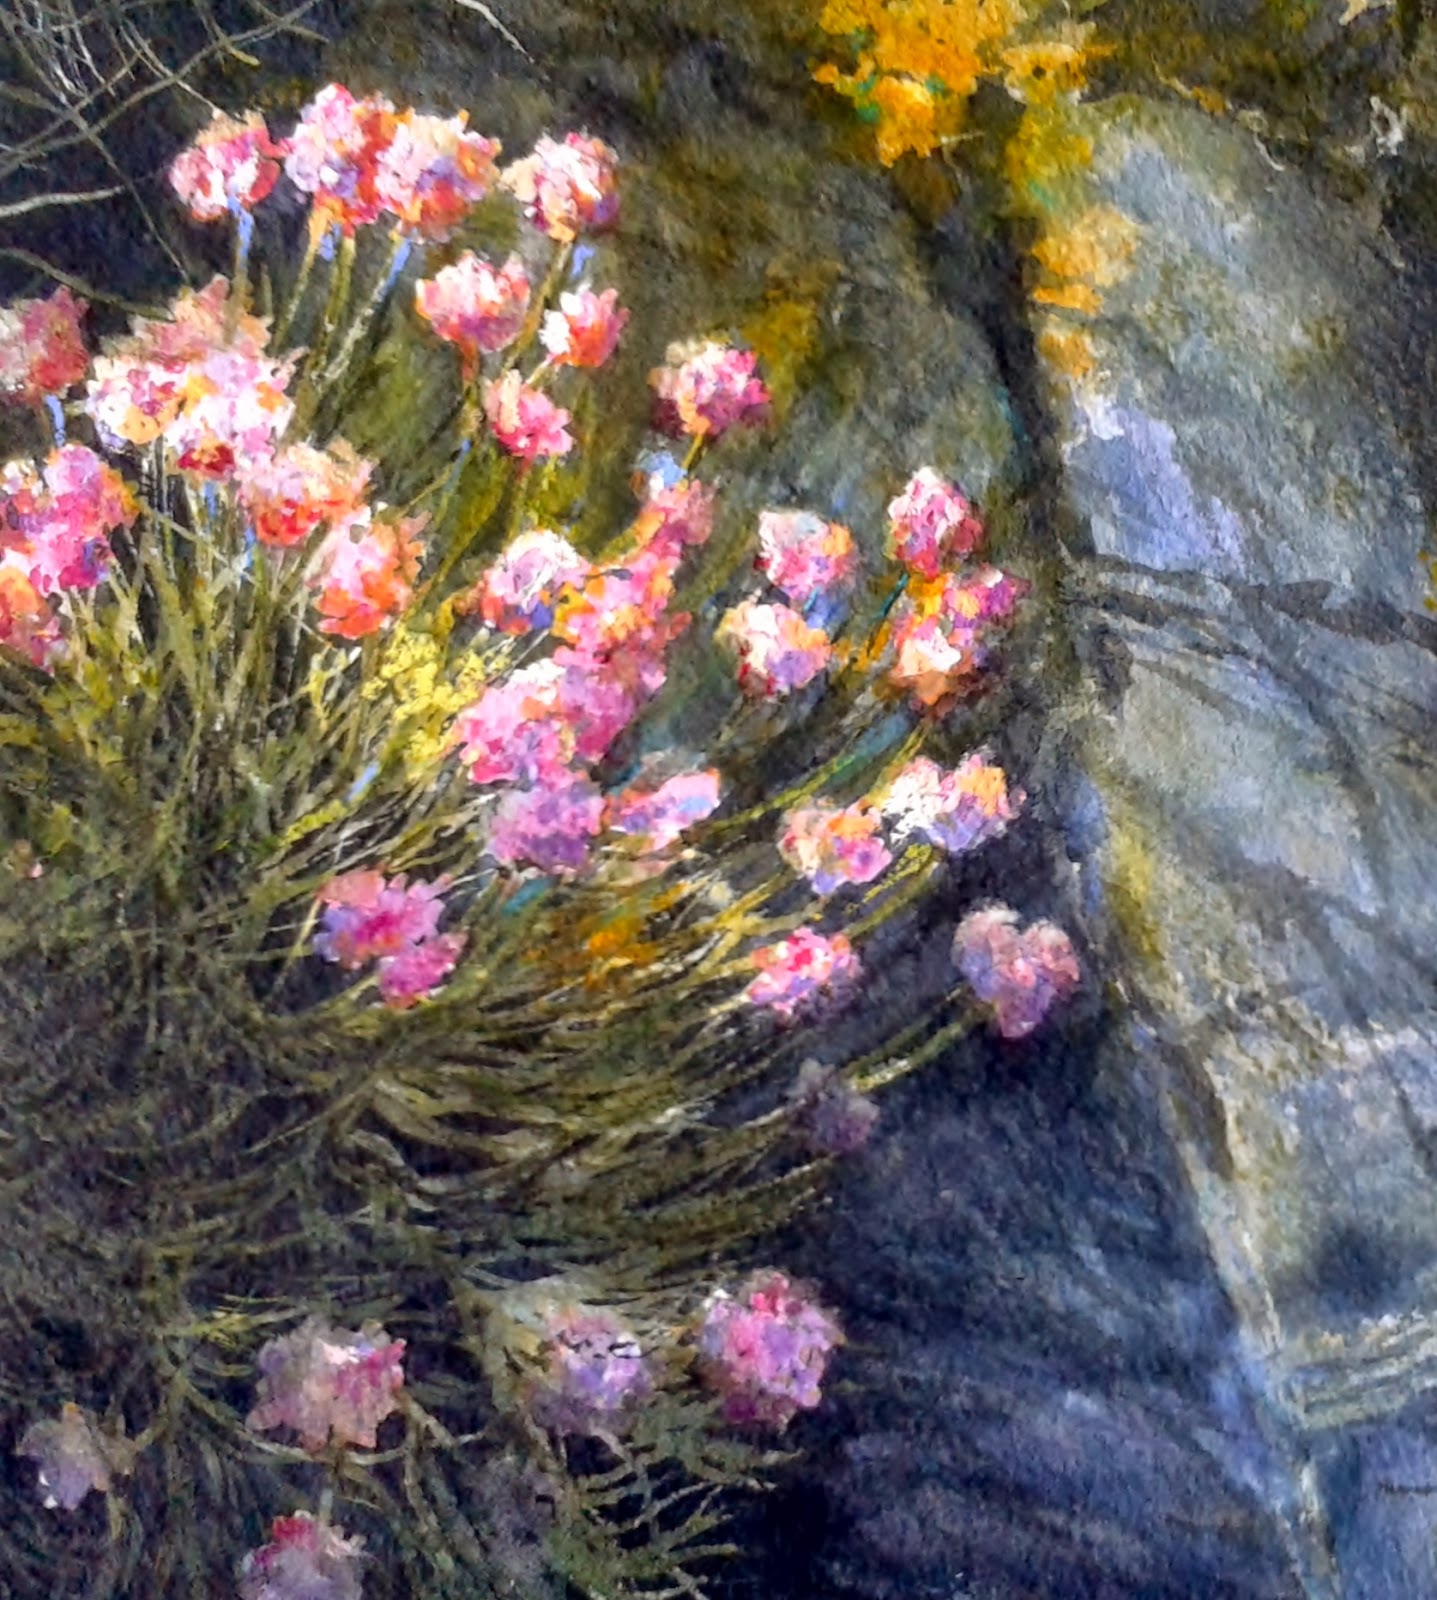
The following images are close-up's from the painting which hopefully, will help show the process a bit clearer:


I hope you have enjoyed this short tutorial?

Since I have quite a number of commissions to work through, it will be a little while till I can post another tutorial.  
Hope you will join me again and, in the meantime, HAPPY PAINTING!!!

BALLINTOY SEASCAPE - Finished Watercolour

So, here is the finished painting: 


I've added several more glazes overall, softened even more sky and wave edges and, finally, darkened the foreground even more to add further depth.

The finishing touches were to highlight the 'focal point' on the rocks with a soft wash of W&N "Burnt Sienna".

Here is another image, a close up, indicating some of the brush work:


Hope you have enjoyed following along with the painting process!
Happy painting!


"Sea Pinks" Final Phase

Well, I finally finished the watercolour painting of the "Sea Pinks" and.... I must have added at least 8 glazes to get the depth I felt it needed. There was considerable waiting and "watching paint dry" [which I'm not really good at] and, 

I have to admit, these are horrible photographs which makes it looks quite 'dull', but here it is...


As you will notice, I have 'cropped' the painting - it was just too 'heavy' on one side with all the flower detail and 'empty' on the other.  

I took all the paintings this morning to have them framed and will reserve 'final judgement' on this one until then as I'm not particularly happy with it.


Saturday 14 September 2013

"SEA PINKS" - Stage III

"SEA PINKS" - Stage III


 I have not had much chance to work on this watercolour, although a further glaze of warm and cool greys has been added.  
This starts to indicate rock texture on the right hand side.  The initial shadows, cast by the Sea Pinks, have also been washed in.

The 'masking' is still in place and will not be removed until further darks and rock texture have been glazed on [if the 'masking' was removed at this stage, further glazing would be extremely difficult and fussy].

I am planning to work on this painting tomorrow and will post further images to show it's progress...

AN ADVENTURE WITH THE DOGS!

Our Trip to Scotland

We have had a really great visit to Northern Scotland since my last post and, obviously, I haven't been painting for a few weeks... 

We went across for a mini-break but mainly to return our son and daughter-in-law's two dogs after a three month dog-sitting experience.  "Cody" [an adorable bouncy black Labrador] and "Rico" [a VERY large, gentle, sweet-natured black German Shepherd who we nicknamed 'Yogi Bear'] were the perfect house 'guests' and we found ourselves really sad to have to take them back home....

So, there we were, in the car with FOUR large, excited and rather talkative dogs [me, wedged into the passenger seat, practically having to sit on our luggage and our sandwiches and coffee flasks tightly packed around my knees].  As we headed towards the ferry, we hoped they wouldn't eat each other [or the car] during the 2 hour crossing!  

The car windows were constantly steamed up from our panting pooches and, initially at least, I was poised with the towel hovering beneath "Bruno's" chin - he has always had the tendency to be car-sick and, even though he was fairly 'dribbling' by the time we arrived at the ferry terminal, he wasn't actually ill [thank goodness]!  

We assume they were well-behaved below deck since there were still four [intact] dogs, no ears had been shredded, no holes chewed in seats and all seat belts appeared fully functioning.  

Let's just say, it was quite an eventful journey - taking two dogs [EACH] on their leads, to 'stretch legs' and have 'toilet breaks' along the way, is hilarious.... especially when they each head off in different directions at the same time!  Of course no one wanted any drinking water [until we were back on the road that is!]. Oh what fun we had during that 16 hour trip!

Before I start talking about the next stages in this watercolour painting, I thought I'd share a picture of my two studio companions "Mika" [our beautiful German Shepherd girl] and "Bruno" [our chocolate Labrador, now 9mths old - yes, he IS a big boy!].  

 They can be either VERY good [when they're both sleeping at my feet] OR, a real pain in the rear [when they decide it's play time] - I have had to stop several times to remove acrylic paint from various ears and noses!

... and, finally, here is a pic of "Rico" and "Cody" in the back of the car during their trip back home to Scotland:


BALLINTOY SEASCAPE

WATERCOLOUR Stages III and IV

OK, back to watercolour..... and, as you can see, I have been working on the Seascape painting 'as a whole'.  By not focusing on [and completing] one area at a time, I can ensure that the painting remains 'balanced' as it progresses.
Quite often though, and especially with still lifes and floral subjects, I do actually work each area up to completion but find that the 'overall' approach works best with seascape and landscape subjects.

I am still using Daniel Smith 'Indigo' and 'Quin.Burnt Sienna', W&N 'Sap Green', 'Winsor Blue' [green shade] and a tiny touch of 'Permanent Rose' and 'Burnt Umber' to warm up or cool off the grey tones.

As I paint, I am constantly thinking about 'directional light' and 'cast shadow' areas. This is important in order to maintain realistic tonal values and to ensure that I don't overwork the painting as a whole and, ultimately, confuse the eye of the viewer.

Today I managed to sit for quite a while [with several 'breaks' in between] and have nearly finished this piece, as shown in the next picture [which, unfortunately, was taken when the daylight had already started to fade]:


I have added drama by adding strong darks to the foreground and, by directional brush strokes, have added movement to the water.  
A glaze of cool grey has been washed over the background sea which 'pushes' that area back, leaving the foreground better focused. I can't really give you a 'recipe' of the colour used because it was just a mix of what was left on my palette!

Hard edges have also been softened here and there [clouds and main foam areas], again, to keep the most detail within the focal point.  

Tomorrow I will finally darken and add some detail to the cliffs on the left and to really 'pin down' the focal point, I will add a little warmth with a very soft glaze of "Burnt Sienna" on the lightest edges of the main rocks.

Once complete, I will post a picture of the finished piece, taken in better light.